PixieDust is a Python library for use in Jupyter notebooks. Using PixieDust is cool, but it is only supported by IBM Watson Studio and the official documentation only tells you how to install it on macOS. Today I will illustrate how to install it on Ubuntu 18.04. This tutorial is based on the installation guide for macOS.
Prerequisites
- A Linux VM running Ubuntu 18.04 Server(I am using a Vultr Machine)
Install Anaconda
You should refer to: https://docs.anaconda.com/anaconda/install/linux/, and the following are the commands I use to install it.
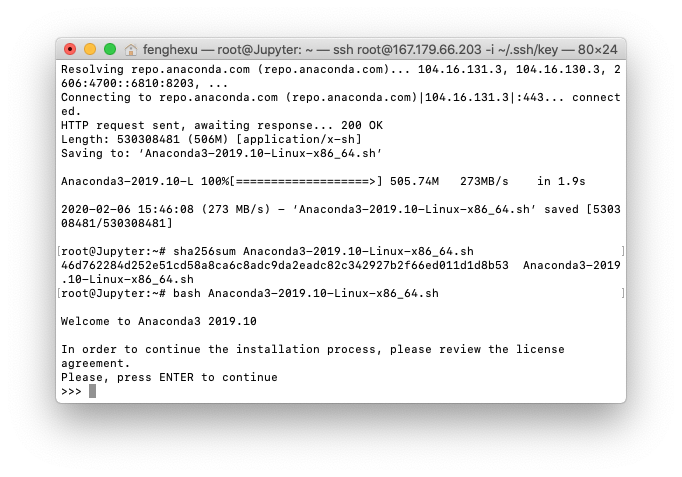
$ cd
$ wget https://repo.anaconda.com/archive/Anaconda3-2019.10-Linux-x86_64.sh
$ sha256sum Anaconda3-2019.10-Linux-x86_64.sh
46d762284d252e51cd58a8ca6c8adc9da2eadc82c342927b2f66ed011d1d8b53  Anaconda3-2019.10-Linux-x86_64.sh
$ bash Anaconda3-2019.10-Linux-x86_64.sh
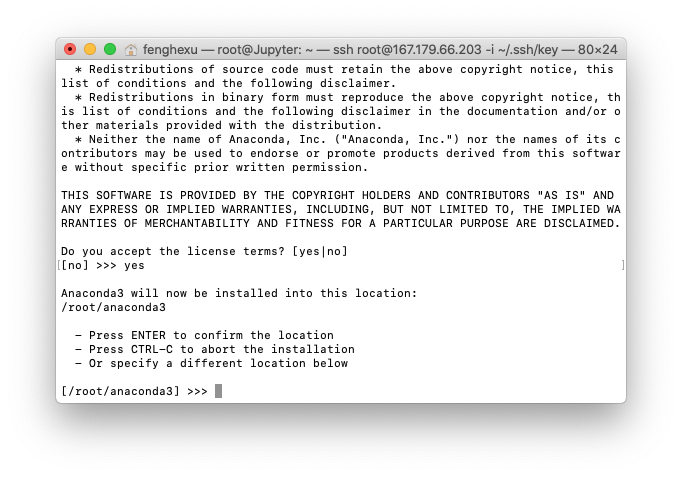
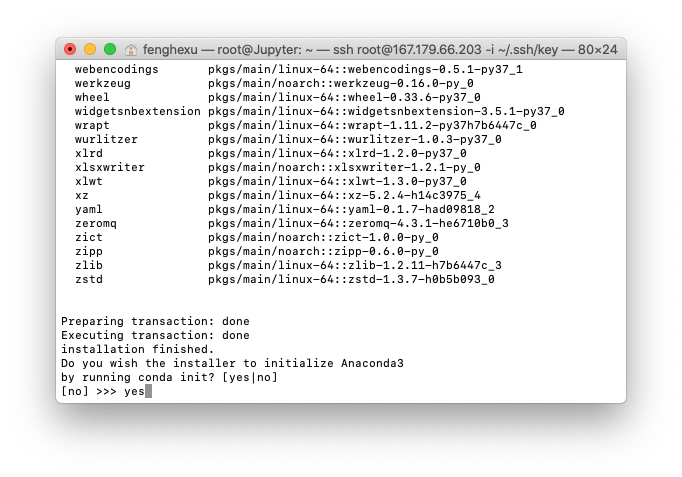
Press “Enter”, “Q” and then enter “yes” to agree with the terms.
Now, you should disconnect the ssh link or turn off the local terminal to have these changes take effect.
After logging in again, you should check if the installation is successful.
$ conda --version
conda 4.7.12
Install Java Dependency
PixieDust depends on java 1.8, i.e. Java SE 8.
$ sudo apt-get update
$ apt install openjdk-8-jre-headless
Install PixieDust
Pip & Jupyterlab
The environment recommendation for PixieDust is Python 3.5 and spark 2.1.0. So firstly, we need to create a Python 3.5 environment with Anaconda.
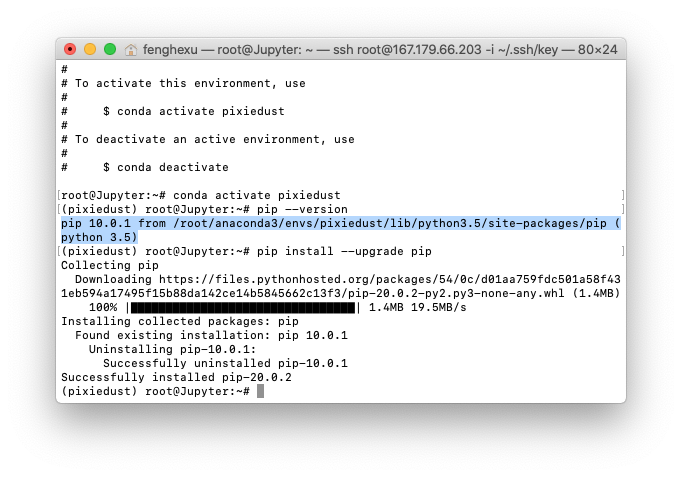
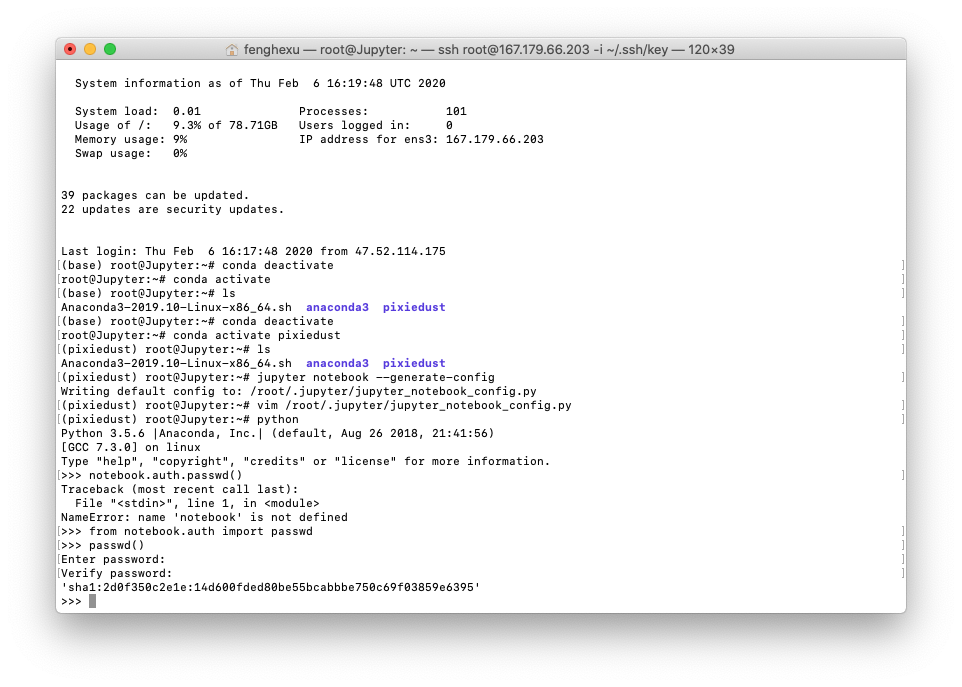
$ conda deactivate
$ conda create -n pixiedust python=3.5
$ conda activate pixiedust
$ pip --version
pip 10.0.1 from /root/anaconda3/envs/pixiedust/lib/python3.5/site-packages/pip (python 3.5)
$ pip install --upgrade pip
Then let’s install Jupyter with Anaconda, choose the default options during the installation.
$ conda install -c conda-forge jupyterlab
$ jupyter --version
jupyter core     : 4.5.0
jupyter-notebook : 5.7.0
qtconsole        : not installed
ipython          : 7.0.1
ipykernel        : 5.1.0
jupyter client   : 5.3.3
jupyter lab      : 1.2.6
nbconvert        : 5.6.0
ipywidgets       : not installed
nbformat         : 5.0.4
traitlets        : 4.3.2
Install PixieDust from Source
The PyPI version of PixieDust is buggy on Linux, so don’t use it. In other words, you have to install it from the source.
$ git clone https://github.com/ibm-cds-labs/pixiedust
$ pip install -e ./pixiedust
Install a Jupyter Kernel
Make sure that you are under the right the pixiedust Anaconda environment and run
$ jupyter pixiedust install
$ jupyter pixiedust list
Available kernels:
  pythonwithpixiedustspark20    /root/.local/share/jupyter/kernels/pythonwithpixiedustspark20
  python3                       /root/anaconda3/envs/pixiedust/share/jupyter/kernels/python3
During the installation, for safe, you should choose spark 2.0.2.

Setup Jupyter Notebook
Now let’s configure the Jupyter Notebook before we start it.
Generate a password
$ python
>>> from notebook.auth import passwd
>>> passwd()
Enter password:
Verify password:
'sha1:2d0f350c2e1e:14d600fded80be55bcabbbe750c69f03859e6395'
>>> exit()
Configure the Notebook
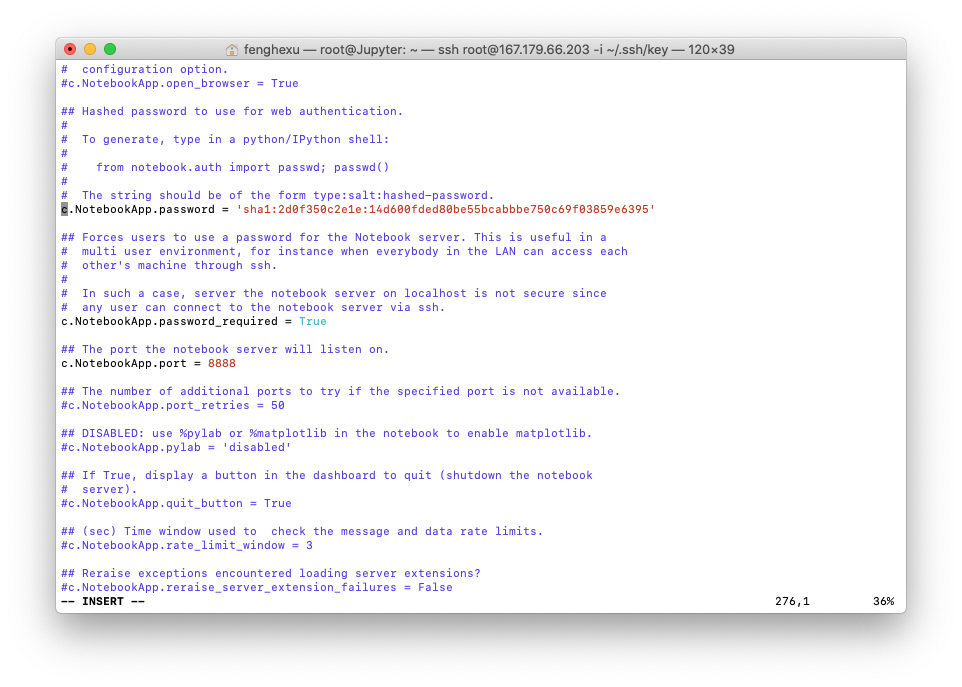
Now let’s apply the password to the configuration file.
$ jupyter notebook --generate-config
Writing default config to: /root/.jupyter/jupyter_notebook_config.py
$ vim /root/.jupyter/jupyter_notebook_config.py
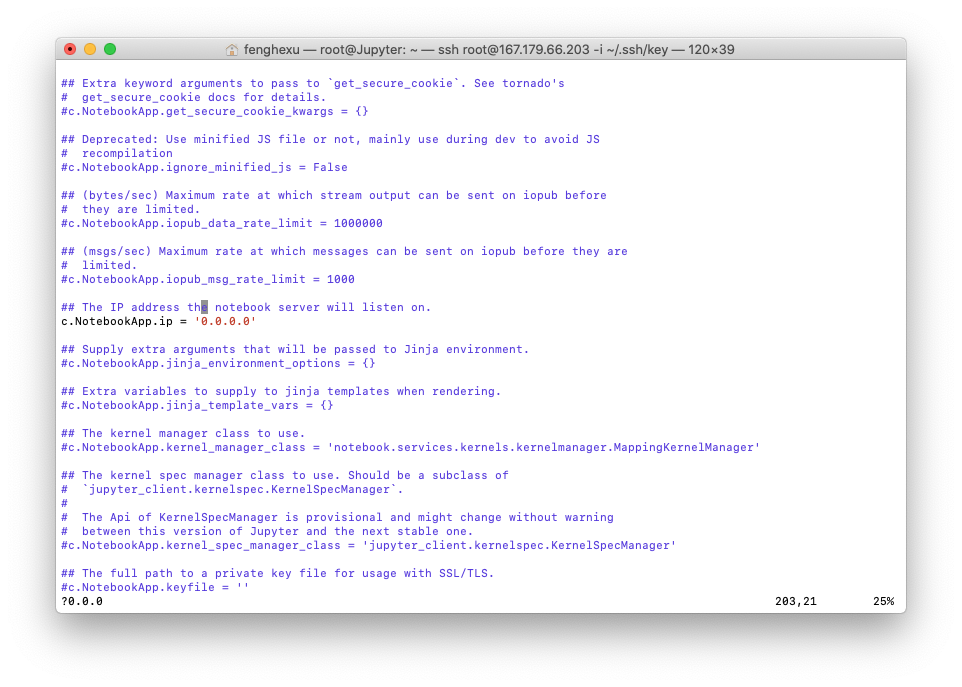
To make sure that we can access the notebook with its public IP address or in a local network. We need to make sure that the c.NotebookApp.ip is ‘0.0.0.0’ and you should specify a port you prefer.
Prerequisites
Following are some prerequisites to import pixiedust, but you can always install them later.
$ pip install matplotlib pandas yaml
Run the Notebook
Firstly, run the notebook as a background task.
$ nohup jupyter notebook pixiedust/notebook --allow-root &
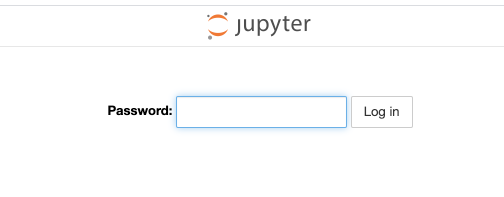
Now you should login the notebook with the password you set.
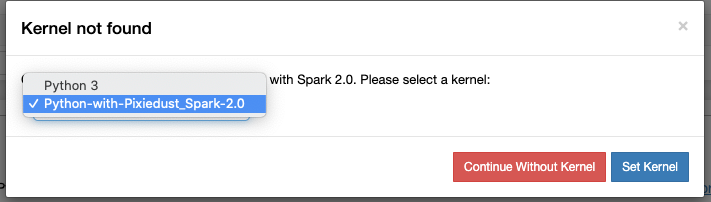
If you are prompted to choose a Jupyter kernel, choose the one with Spark.
In Case of Missing Python Modules
If you are missing any Python module, you can always go back to the pixiedust Anaconda environment and install it using pip. After that restart the Jupyter kernel in the Web UI.
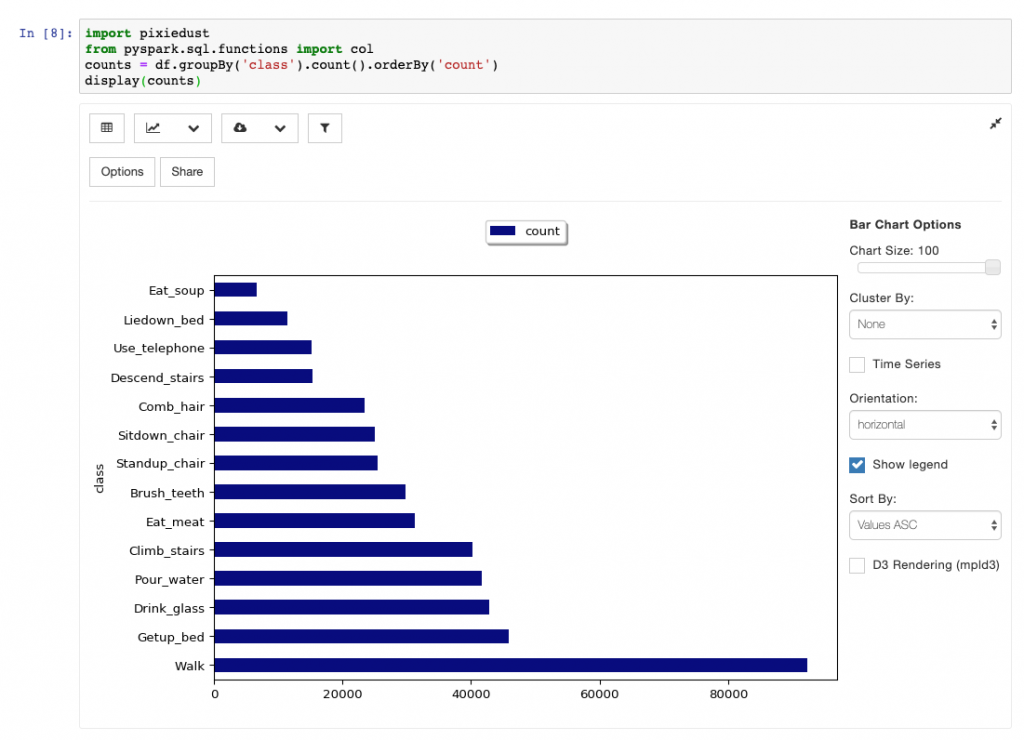
Example
Following is an example running in Jupyter Notebook. Cool, right?
References
- Github Repo pixiedust/pixiedust: https://github.com/pixiedust/pixiedust
- Installation guide for macOS: https://pixiedust.github.io/pixiedust/install.html
- PixieDust Documentation: https://pixiedust.github.io/pixiedust/use.html
- Install Anaconda on Linux: https://docs.anaconda.com/anaconda/install/linux/
- Managing Python with Anaconda: https://docs.conda.io/projects/conda/en/latest/user-guide/getting-started.html#managing-python
- Installing Different Versions of Python with Anaconda: https://docs.conda.io/projects/conda/en/latest/user-guide/tasks/manage-python.html
- Install Jupyter Notebook: https://jupyter.org/install
- Configure Jupyter Notebook: https://jupyter-notebook.readthedocs.io/en/stable/config_overview.html